
Table of Contents
Managing a Facebook page doesn’t include managing posts, messages, and comments. But you have to understand many other sections of your page to deal with them when it is needed. For example, you may want to remove yourself from the admin panel.
In this regard, you need to learn how to remove myself as an admin on Facebook page. It can be because of multiple reasons a few of which I have mentioned below. I was facing complications in doing so and understanding this method.
So, I researched and found methods to do so on a computer (web app) and mobile app. Meanwhile, I have learned different tasks related to other social media channels like WhatsApp, Twitter, and Instagram. Let me show you how to remove myself as an admin on Facebook page in this blog.
Reasons to Remove Myself as an Admin
Before learning the way to remove yourself from the Facebook page, you need to understand the reasons. Undoubtedly, you may have different reasons to do so. But I have seen that people are facing common reasons that I have mentioned below:
- You may have a lot of work to do and face annoying notifications from your Facebook page.
- It might be possible that you are moving from the company and don’t want to have access to their Facebook pages while leaving.
- You may have multiple people to manage your page and want them to handle everything instead of getting annoying notifications.
- It might be possible that you have hired someone in place of yours to manage your business page.
These are some reasons that I have heard from multiple users. Doesn’t matter what is the reason behind this removal, the process to remove will remain the same. Be mindful that you can also ban someone from the Facebook page if they are in the admin panel using the same approach.
How to Remove Myself as An Admin on Facebook Page?
Mostly, business owners or page managers use their laptops/computers to manage their accounts. It is common for them to deal with every section through their laptops because of the wider interface. But sometimes, it is important to take instant actions for which users pick their mobiles to remove them from the admin panel.
That’s why I have shared how to remove myself as an admin on Facebook page via both devices. Let me show you a step-by-step process to do so.
From Web App
The process of managing a Facebook page was straightforward until the platform introduced a switching profile option. Here is the updated process to get the task done with this new interface of the web-based app.
Step 1. Login to your Facebook account
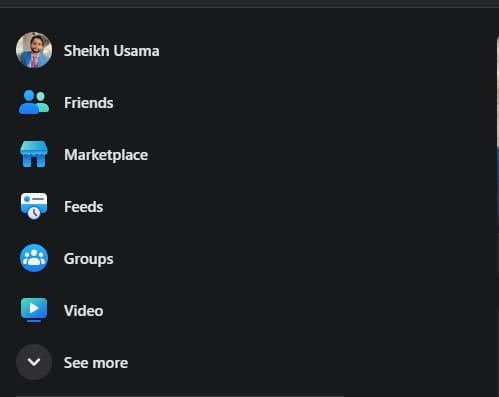
Step 2. Click on the “See more” option from the left vertical bar
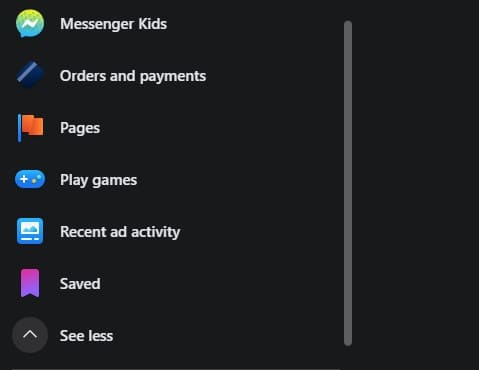
Step 3. Scroll down and click on the “Pages” option
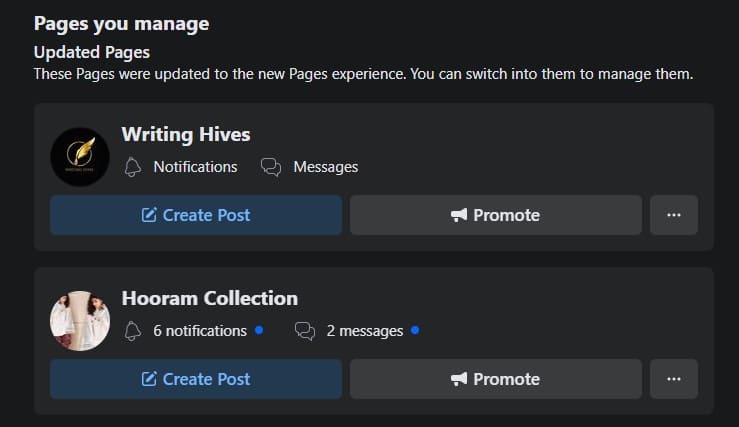
Step 4. Tap on the concerned page from the list of available pages (Writing Hives in this case)
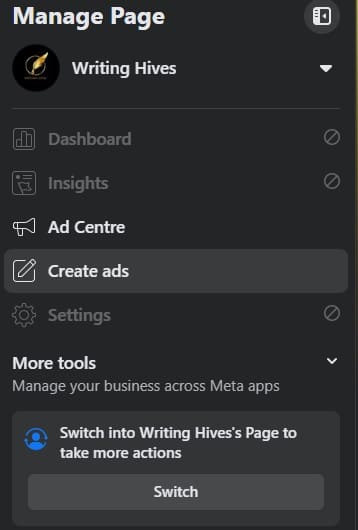
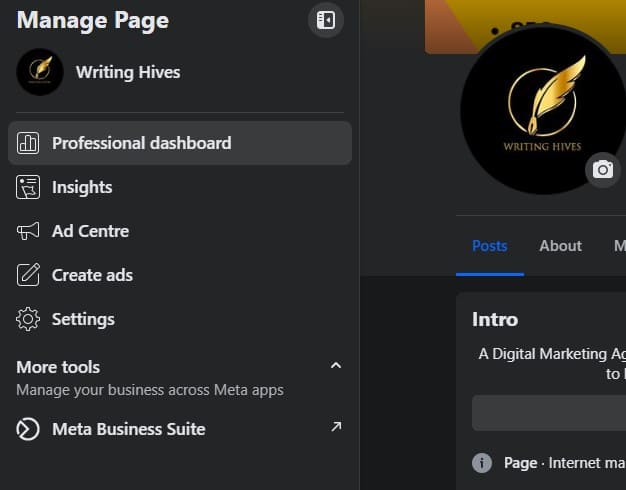
Step 5. Click on the “Switch” option given in the left bar
Step 6. Now, tap on the “Settings” option from the same left vertical bar
Step 7. Tap on the “New Pages Experience”

Step 8. Click on the “Three Dots” given beside the profile name

Step 9. Choose “Remove Access”

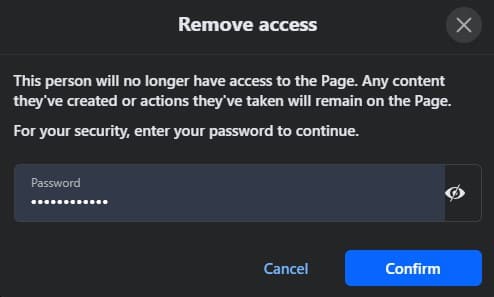
Step 10. Enter the password and click on the “Confirm” button
It will remove that profile from your Facebook page. Doesn’t matter whether you want to remove yourself from the page or any other admin, you can do this with these steps.
From Mobile App
If you are a mobile guy and looking to handle your tasks using this handy device, you need to follow these steps for this process. I have performed this process using my mobile Facebook application and sharing the steps that I have followed.
Step 1. Login to your Facebook account
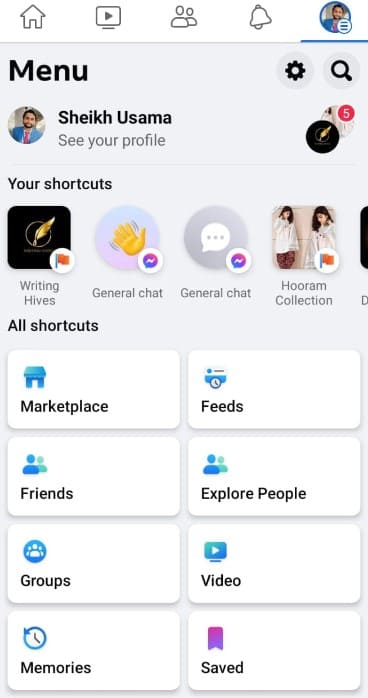
Step 2. Click on your profile picture given in the top right corner

Step 3. Look for the “Profiles” option given beside your name
Step 4. Tap on that option and choose your “Page” from the list

Step 5. Now, click on the profile picture of the page given in the same right corner

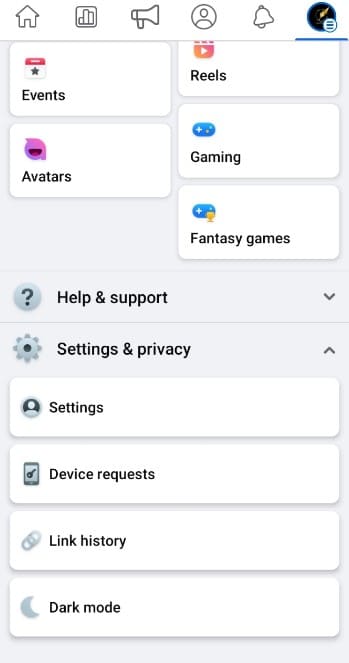
Step 6. Scroll down and click on “Settings ad Privacy” and then choose “Settings”
Step 7. Click on the “Page Settings” option given at the top of the list
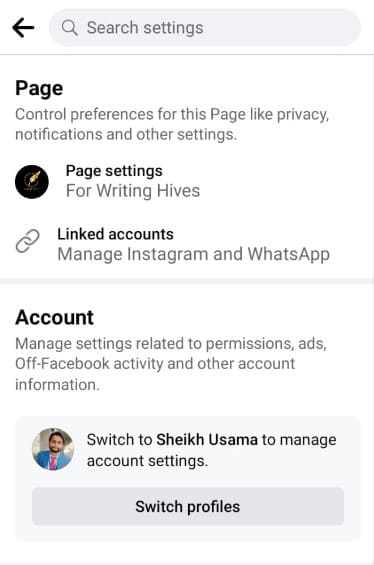
Step 8. Scroll down to access “New Pages Experience” and click on “Page Access”

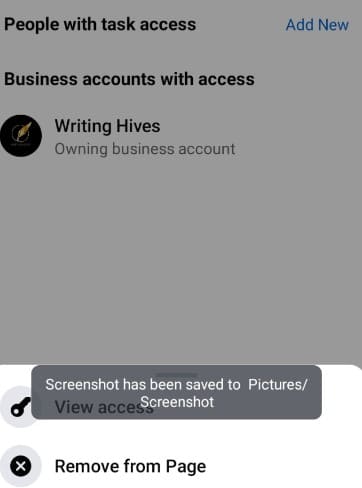
Step 9. Tap on the “Three Dots” given beside the profile name you want to remove

Step 10. Click on the “Remove from Page” and enter your password for confirmation
With this confirmation, you will be able to remove that person from the list of admins. That profile will not be able to access your page with that access permissions. It will then remain a normal user who will come to your page just as a random person or customer.
Why Am I Unable to Remove Myself From the Admin Panel of Facebook Page?
Sometimes, I have seen that people are unable to remove themselves from the Facebook page. The only reason that is restricting them is solo admin. In simple words, if you are the solo admin of the page, you won’t be able to remove yourself from the list.
If you want to remove yourself, you have to add another person as an admin to your page. Then, you will get the option to remove access for yourself from the Facebook page. But if you are still facing the issue, you need to connect with Facebook support who will guide you in that specific circumstance.
Final Verdict
I hope you have got all your answers related to how to remove myself as an admin on Facebook page. I have discussed the steps that I have followed and found effective. You can freely follow these steps to go ahead and remove anyone from the list of admins.
It will be a process of a few minutes but it can save you from a huge loss like a data breach. Moreover, you just need to remember the password of the profile to remove access. If you don’t remember it, you won’t be able to remove access and have to face identity verification problems.
My name is Hassan, an SEO Expert having field experience of more than 10 years. During my career, I have helped multiple businesses in getting a strong position in SERP results with my optimization techniques as well as have built my websites too. With my SEO expertise, we have grown this website to make it visible for people in search engines.
Let me help you grow your business too by connecting via LinkedIn.